


This is a great DIY and I HIGHLY recommend that if you decide to give this ago that you make several of these at once. Once you get your tools out, you may as well cut pieces to assemble several of these because you are going to want them!
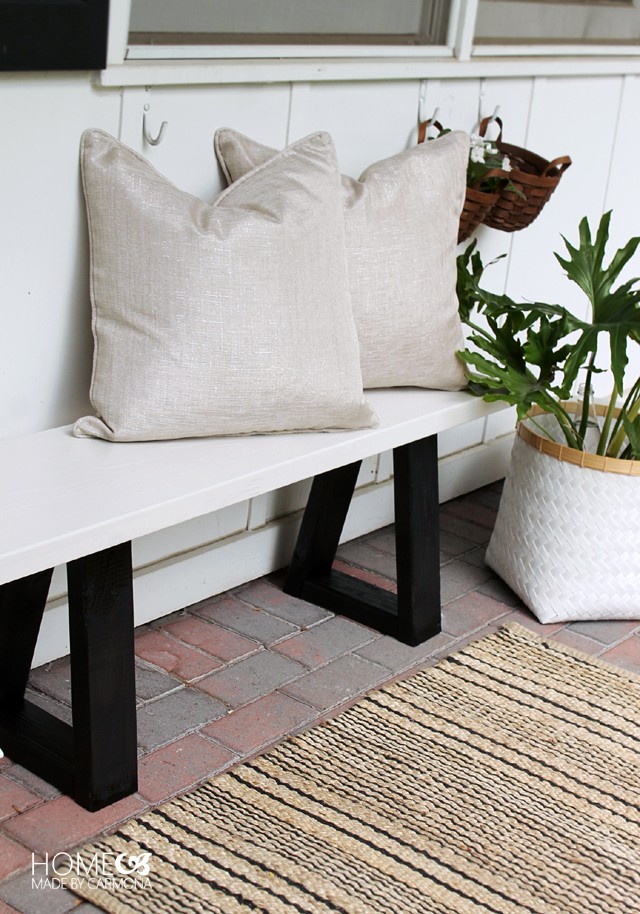
Look how great they look when you have a few to use together:
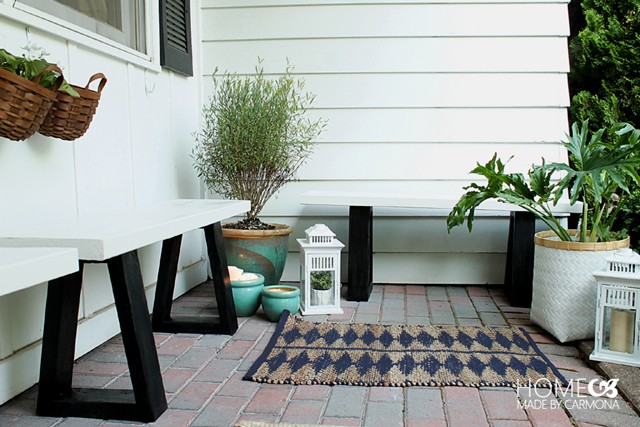
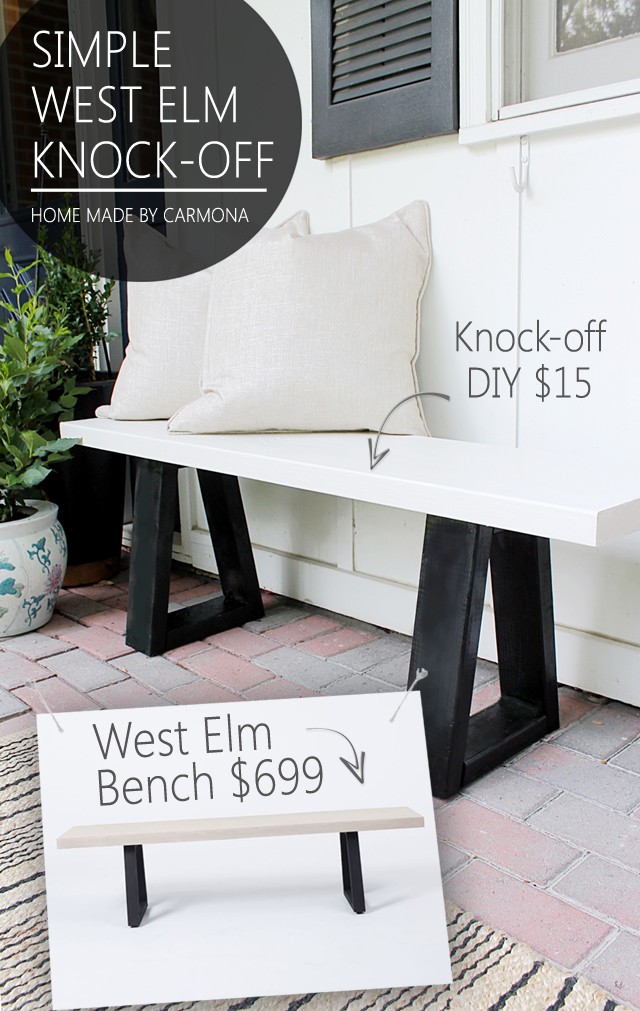
These are so chic! Here is how you get it done:
According to homemadebycarmona:
Materials
2 x 4 x 92 studs (1 per bench)
Treated lumber: 2x12x12 (to make 3 benches), OR 2x12x4 (to make 1 bench)
2 – 1/2″ construction screws
Black spray paint (or paint of choice)
Grey-white paint or stain (or paint of choice)
Ultra Polyurethane
XL furniture foot tacks (optional)Tools
Miter saw
Drill
Screw driver
Measuring tape
Painting tool of choiceDirections:
1. Set your miter saw to 10 degrees.
2. Make the first starting cut to your stud by cutting off the very end at 10 degrees
3. Measure and mark 15-3/4″ and cut, this is your first leg! Repeat 4 times.4. Next you will do the same for the horizontal leg pieces. The smaller horizontal piece measures 3-1/2″, the longer horizontal piece must measure 8-1/2″.
5. If you haven’t already had the hardware store cut your 2x12x12 treated lumber into three 4′ pieces, go ahead and cut them now. This is your bench top. Also take a moment to sand all the rough edges of your cut pieces. These are the pieces you’ll have per bench, and you should be able to line them up as A-frame legs.
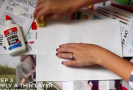
6. Drill two holes in the top and bottom of all the long vertical leg pieces.7. Screw it in until the connecting pieces of wood pull together (and close any large gaps) and the screw sinks deep into the soft wood. Then you can fill any other gaps and screw holes with wood filler.
8. While the wood filler dries, complete any other legs and paint the bench top.
9. Spray paint the bench legs, or stain, whatever your choice is. Let everything dry completely before sealing with a polyurethane.
10. Finally attach the legs to the bench top by drilling four holes and screwing into place.
What are some of your favorite West Elm pieces that you would like to knock-off? Send us the links and we will try to find tutorials for you!
Thanks so much to homemadebycarmona for this wonderful tutorial and pictures. You should see her site for lots more on this tutorial.


No comments yet... Be the first to leave a reply!