

This project looks SO fun to work on. It is making me want to plan a Girl’s Night with all my friends where we can just sit around and work on this, chatting all night long!
These little gilded bowls are so perfect to keep for yourself and even a better DIY gift for any of the ladies in your life.
Here is how you make them:
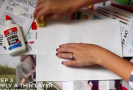
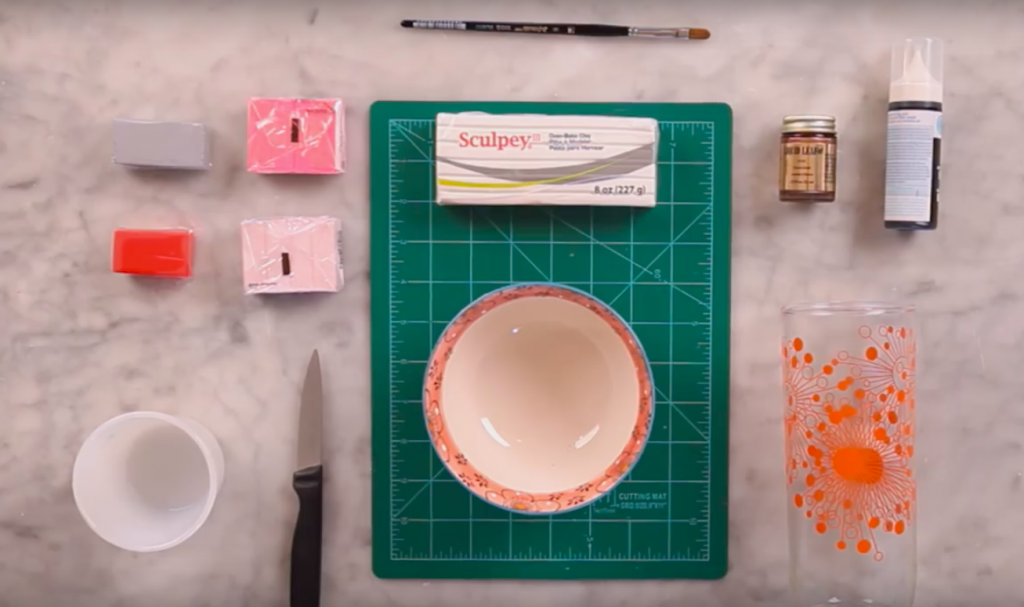
Get out your supplies:
- Soft, oven-baked clay,
- paint brush
- gilding paint/enamel paint
- tall glass or rolling pin
- cereal bowl
- oven-safe ramekin
- knife
- work board
- parchment paper
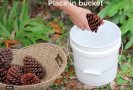
First, cover your workspace with parchment paper to prevent the clay from sticking. Start rolling out your clay into little “snakes”.
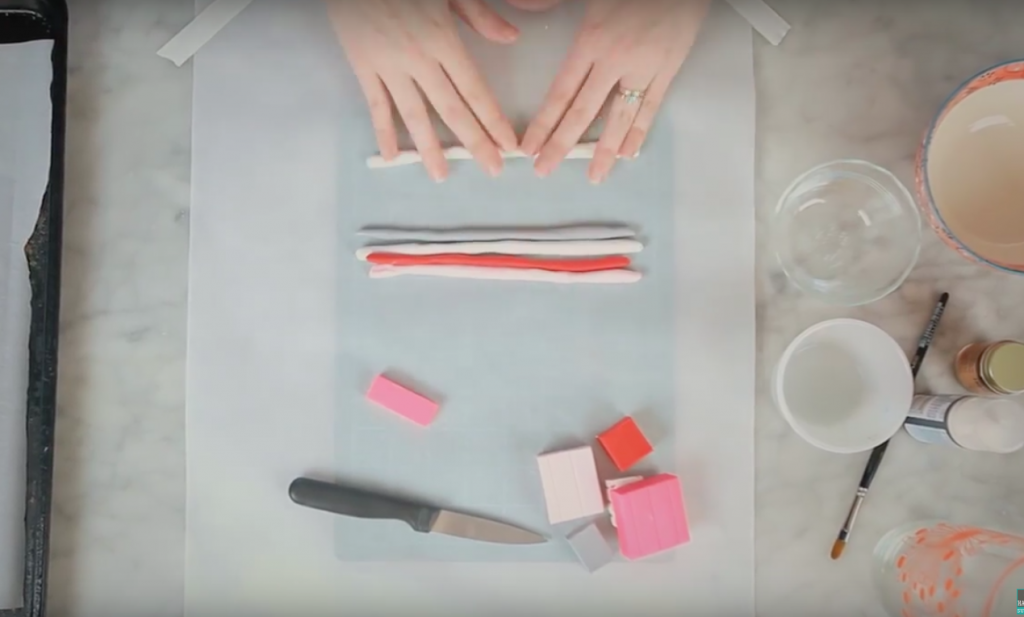
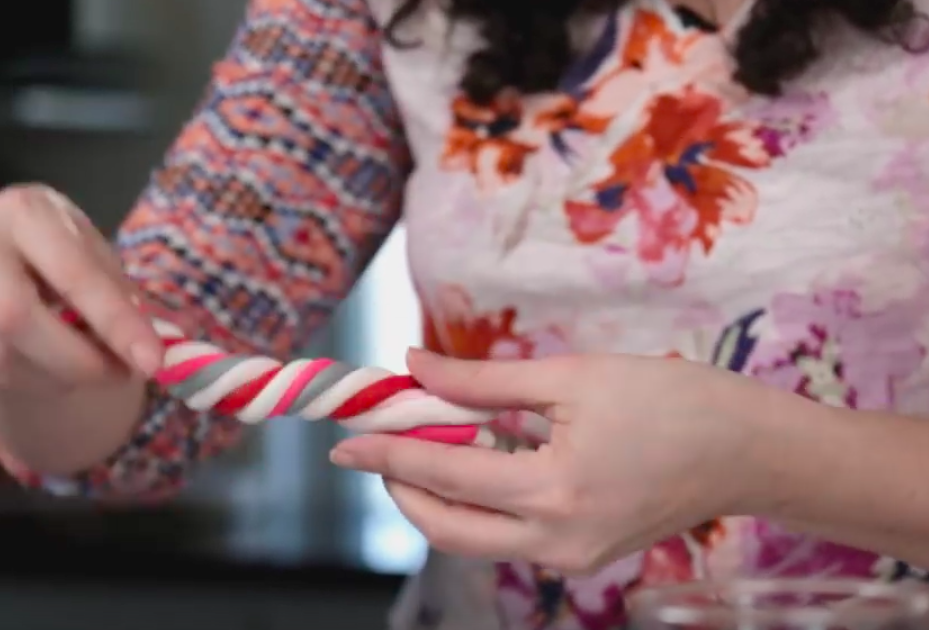
Next, combine your “snakes” together and twist them up in a candy cane twist. Fold it over and twist again. Continue this until your clay is marbled how you want it to be. Then roll it out 1/4″ thick:
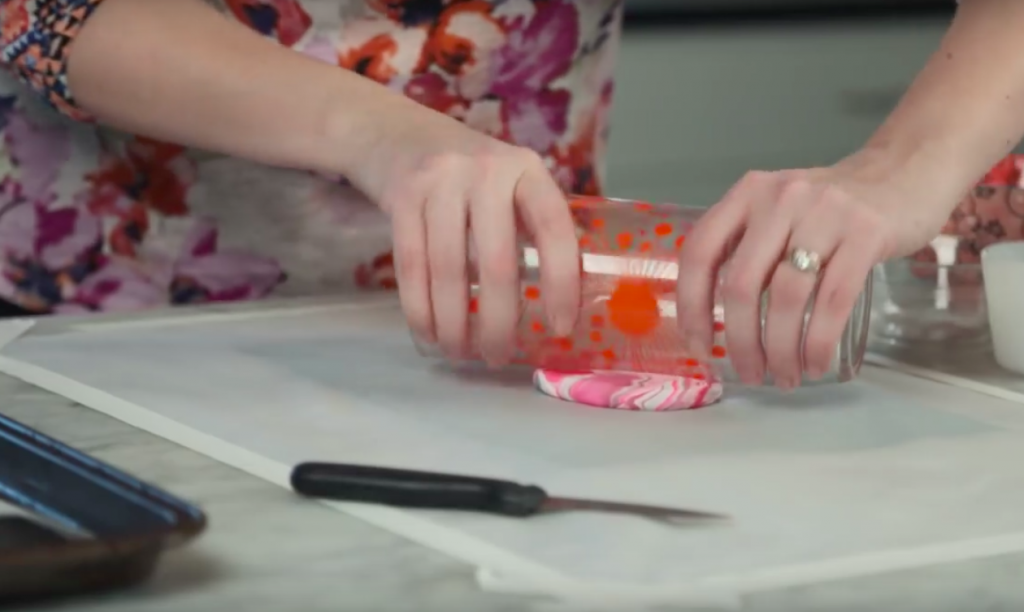
Now you want to cut it into a perfect circle. Place a cereal bowl over it as a stencil and use your knife to cut off the excess:
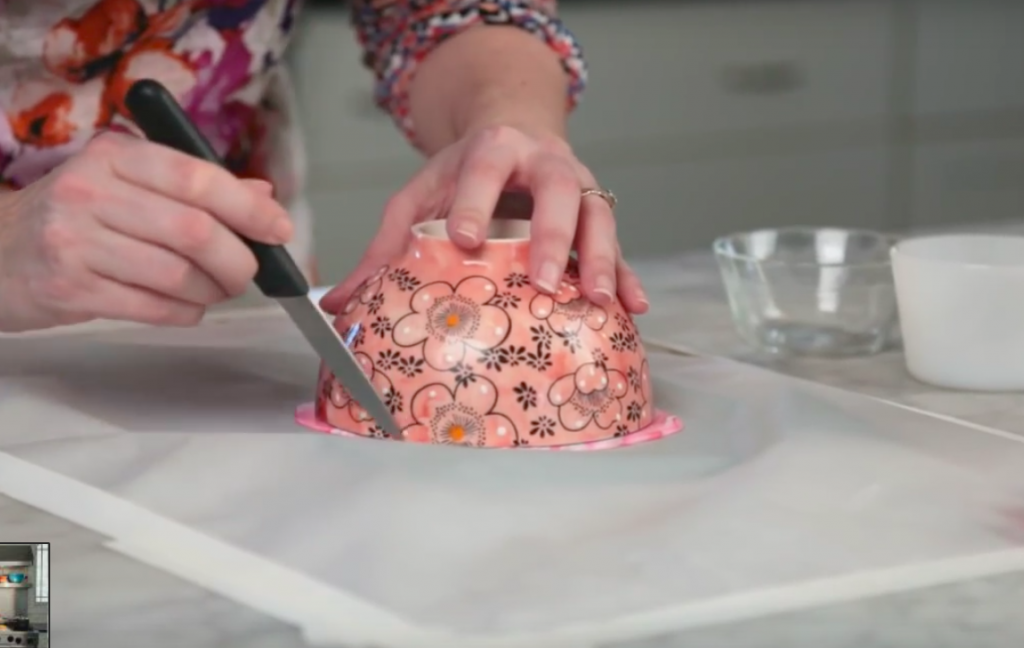
Almost there…click through to see the final reveal…


No comments yet... Be the first to leave a reply!