

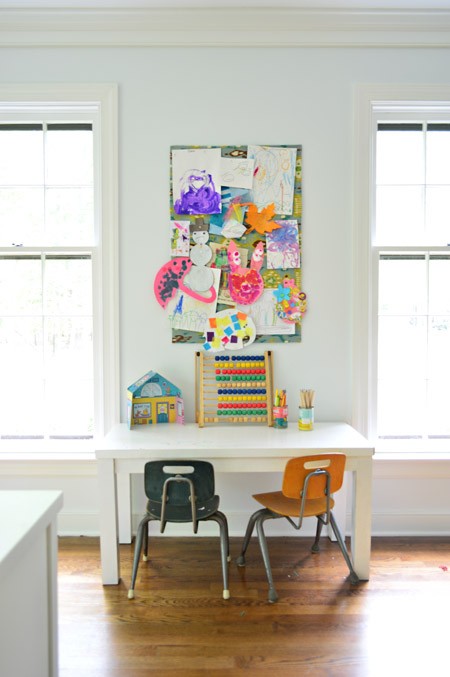
Take a look at what was between the two windows before:
younghouselove
Very cute but could be better.
So they took down the bulletin board.
According to younghouselove:
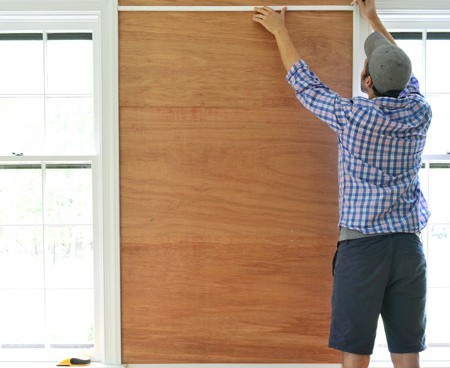
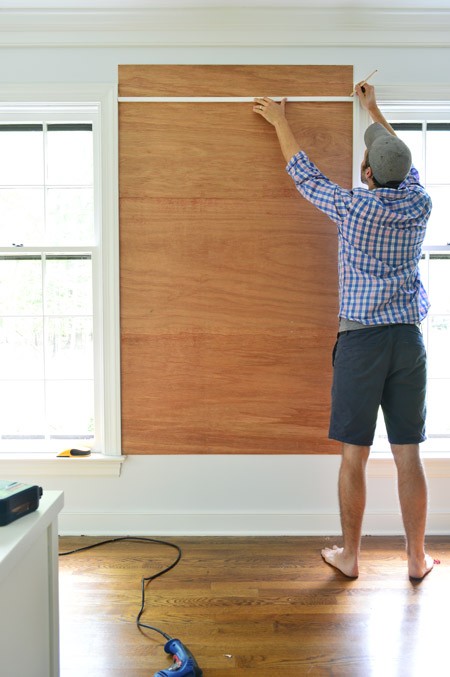
The wood backing was made of three 2 x 4′ sheets of 5mm underlayment from Home Depot. All of them needed a little trim to fit the 43″ wide gap between the windows. I clamped them together tightly and cut them all with one slice of my circular saw.
younghouselove
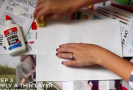
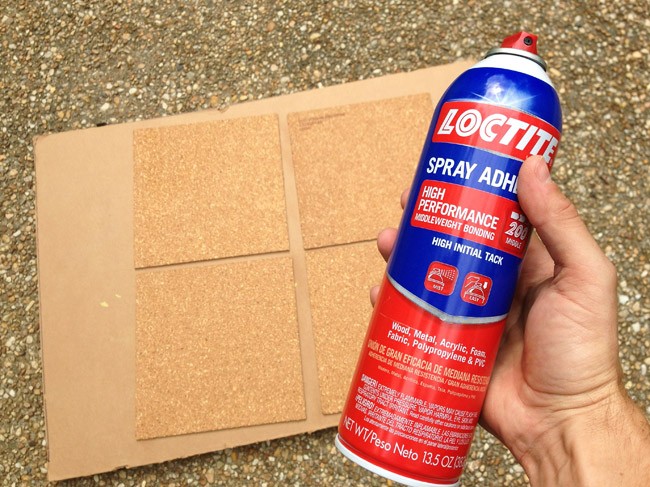
Then they glued cork squares to the wood one at a time and cut the end ones to fit.
younghouselove
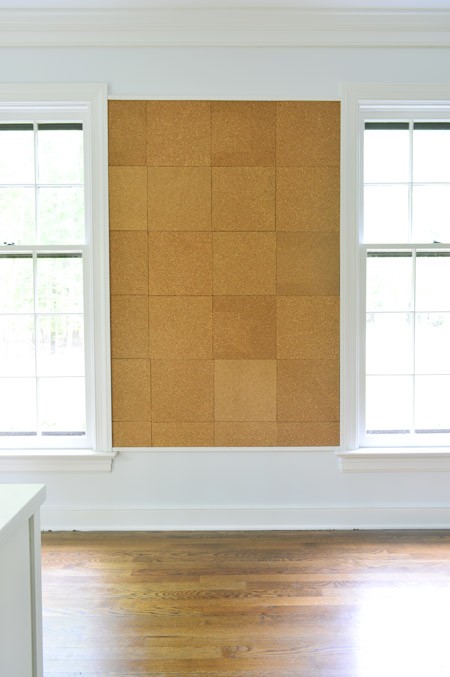
They covered the whole thing with cork and added two thin pieces of basic molding at the top and bottom for a finished look.
younghouselove
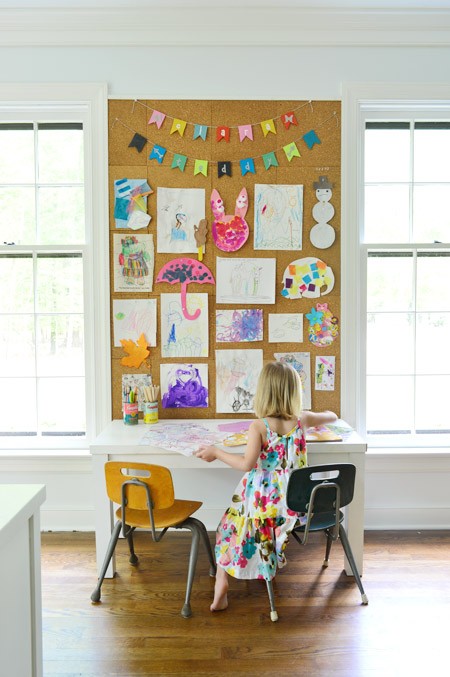
And finally, added back the desk and let their daughter have at it. Gorgeous!!
What do you like to do with your kids artwork? Over the summer we made upcycled art flag banners for their rooms. Those are wonderful!
Thank you so much to younghouselove for this great idea, tutorial and pictures. You should definitely check out their site for lots more pics and details about this project.


lie to watch these