


PAINT THEM!
You can actually just paint that vinyl flooring any color and amy pattern you choose. Sky’s the limit! Solid, stripes, checkerboard…get as creative as you like. Be sure you follow the directions laid out below to get the best long-lasting result.
According to designer trapped, here is how to do it right:
1) Select the pattern and colors to use. I purchased 1 quart of each color in Valspar at Lowe’s. Be SURE to purchase porch floor paint, like Valspar 1534 Porch and Floor Latex Satin Enamel, 1-Gallon, Dark Gray. It is durable and is intended for foot traffic.
2) Clear and clean the floor area. After you clear the floor, you need to clean the floor. Make sure it is clear of dust and dirt. Some people recommend using TSP (a heavy duty cleaner), but I did not have any on hand, so I used my normal floor cleaner (I use Mrs. Meyer’s).
3) Prime the floor- I used regular old KILZ General Purpose Interior Primer to prime the entire floor. I poured the primer directly on the floor and used a small paint roller to spread it. I only used one coat of primer and that worked just fine. I did it around 9pm one night and let it dry overnight.
4) Paint the floor– This steps has several “sub-steps”:
After letting the primer dry overnight, I painted the entire floor with the antique white color, which I considered my “base” color, twice. That’s right, two coats. Fortunately, this paint dries pretty quickly, but I did use a large box fan to speed the process along. I was able to get these two coats done in one day. Then, I let the base color dry overnight. I am not going to lie, this was kind of a messy project. Be prepared to scrub your feet 🙂
The following night, I taped off my stripes using regular blue painter’s tape. I used the existing brick pattern to determine the width of my stripes, which eliminated the need to measure first. Note that my floor had some definite texture to it, so I knew bleeding would happen, but I just rolled with it. I knew it would be an easy fix later. However, if you absolutely want to avoid bleeding, follow this step: After taping your floors, add one more coat of your base color over the entire floor–paint OVER the tape. That will seal the crisp lines and prevent any bleeding. Trust me, it works on textured surfaces.

The finished product is pretty amazing!
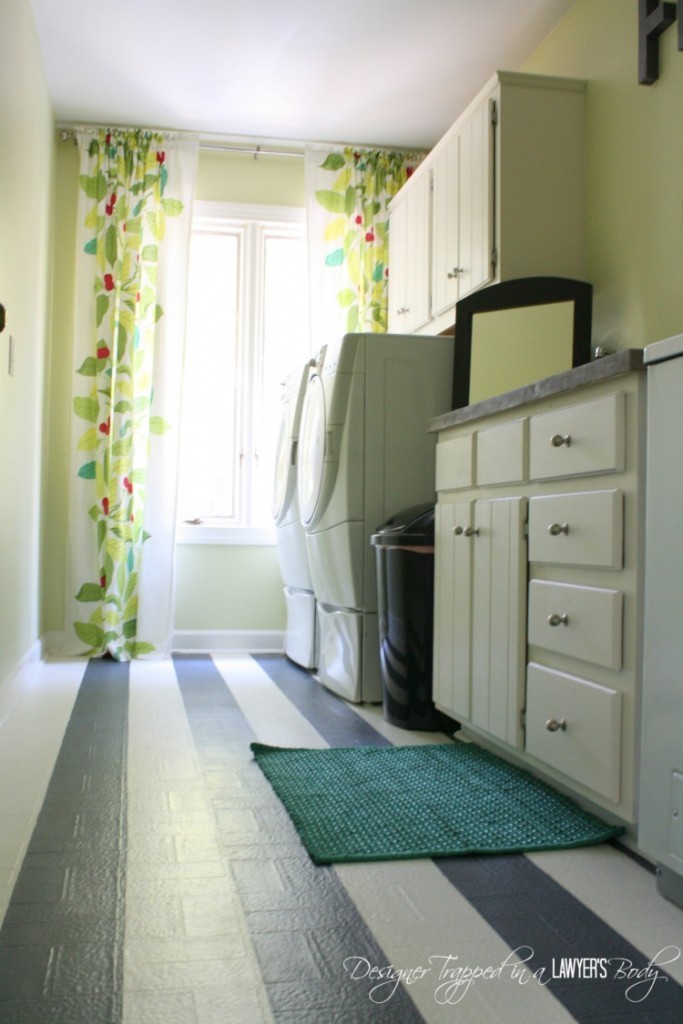
Obviously you can still see the vinyl pattern but the look of the room is completely transformed for a price that cannot be beat.
Thank you to designertrapped for this fantastic idea! See her site for additional details and pics of this project.


I had that same floor in my kitchen … dang I could have saved myself some money !!!!
Sandi Douglas
I would go one step further and polyurethane to seal it, I have even done my counter tops, there’s nothing I won’t paint.
I wanted to paint my counter top in bathroom but was afraid I would mess it up. You have inspired me.
I would have to see how that looks after a year of use.
Alfredo Garcia
Danielle Learn