


According to abeautifulmess:
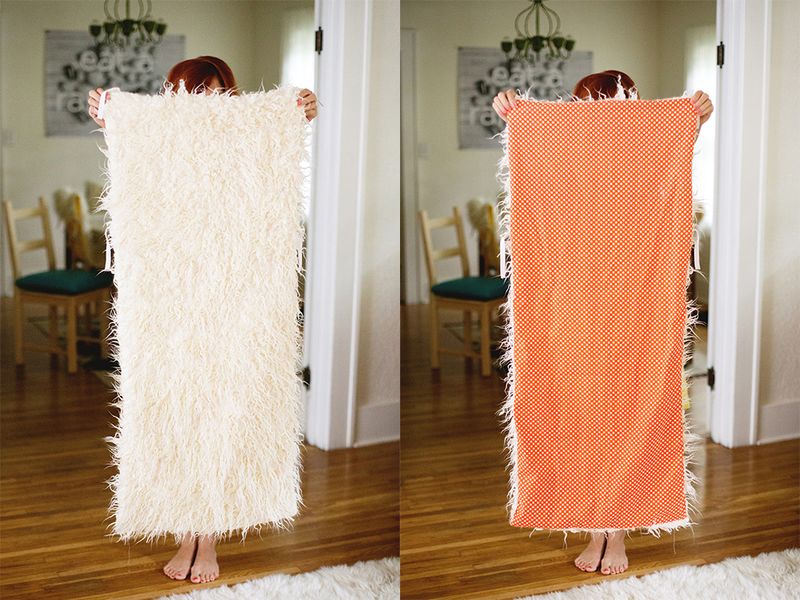
1. First, measure your chair and decide how long your cover will need to be. Once you get your numbers (mine was 18″ x 44″), carefully cut your fur. Try to stay as close to the fabric/under the fur as possible. If you just cut this like normal fabric, you will have fur that looks like it just went to the barber—all chopped. Cut your cotton fabric to the same size.
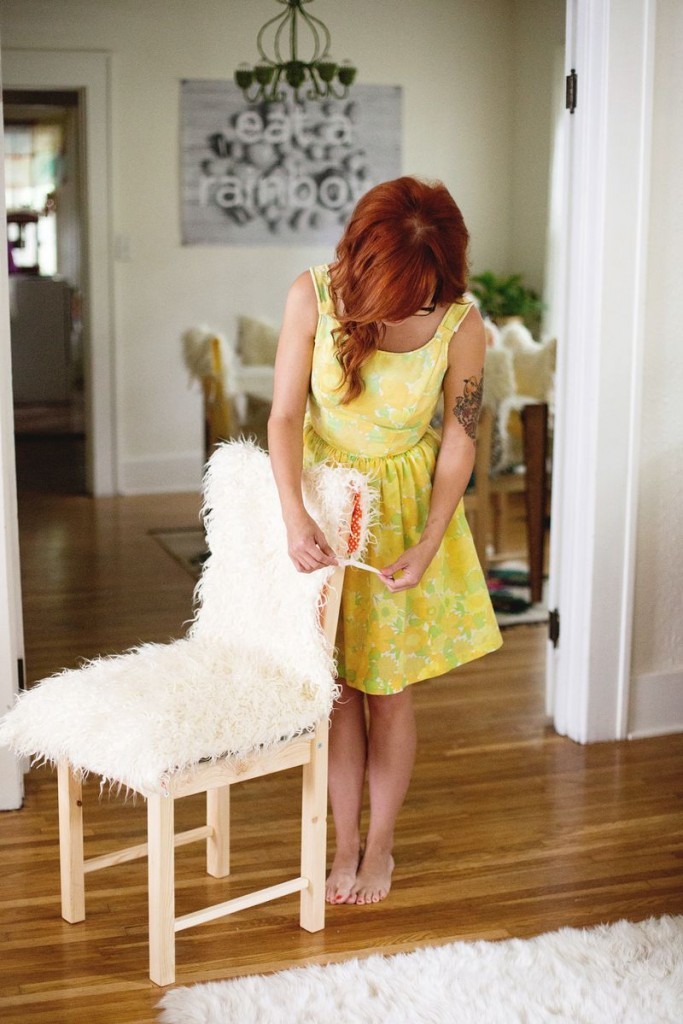
Step Two: Now it’s time for pinning! Lay your fur out so the fluffy side is up. Place one piece of canvas trim at the top right corner and one piece at the top left corner. Place one more piece of trim 14″ (more or less depending on the length of your fabric) down from the top on either side. Layer your cotton fabric on top of the fur and trim face down. Pin all the edges, leaving a gap in the bottom right corner.
Step Three: Stitch along the edges, remembering to leave that gap at the bottom corner. Once you’ve made it all the way around, flip your cover right side out. Stitch the gap closed and tie on to your chair!
Check out how cozy and pretty!
 What is your favorite way to dress up a chair? Tell us about it!
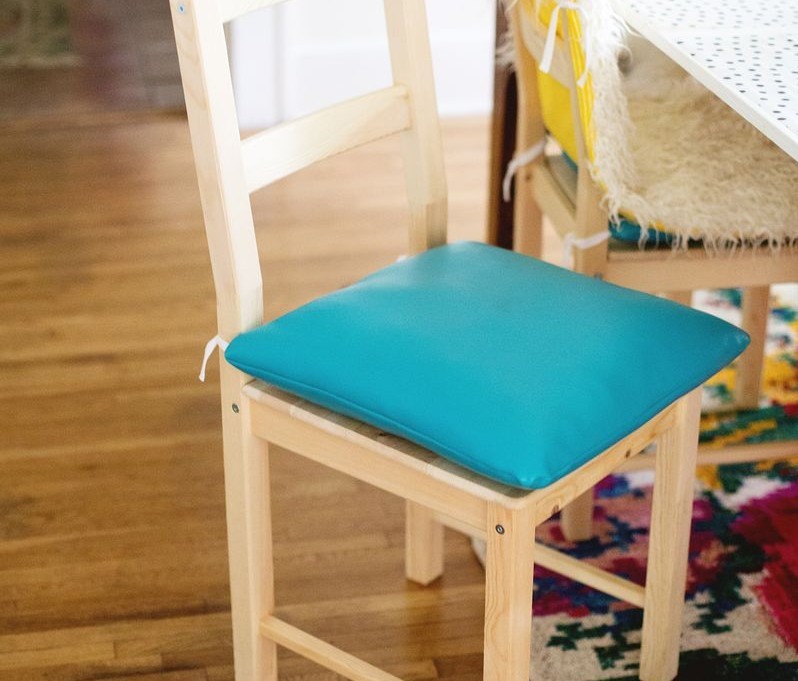
Thank you to abeautifulmess for this great tutorial and beautiful pics. Check out their site to see how they made the cushions, too and for more pics and deets of the whole project.


No comments yet... Be the first to leave a reply!