

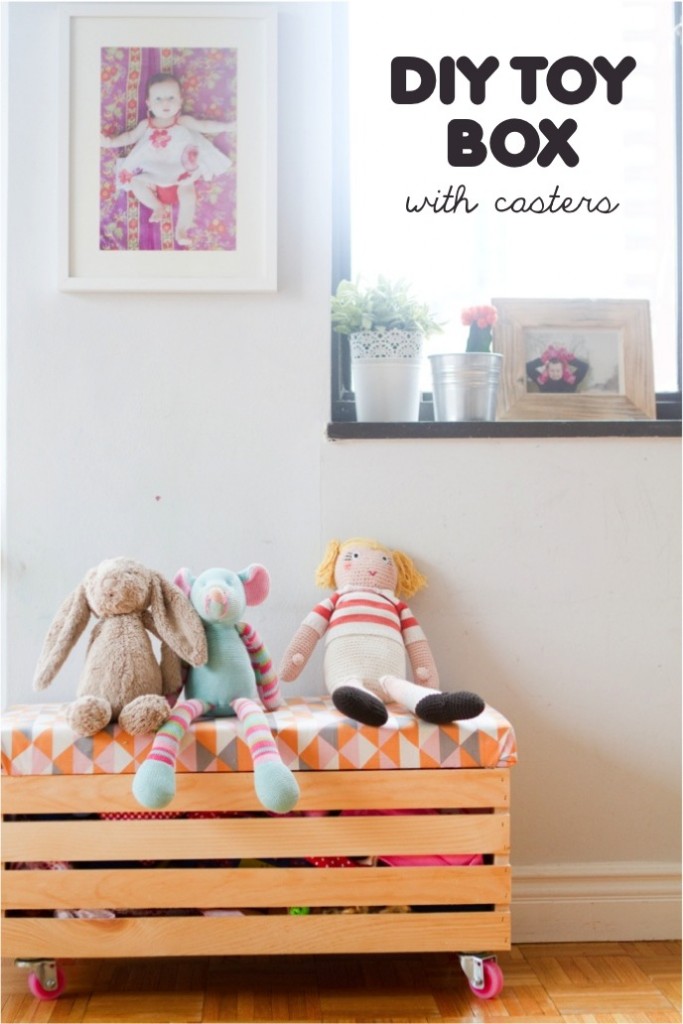
These rolling crates are extremely cute, but even more practical. The toys do NOT always have be organized, sometimes you just want them off the darn floor and these crates are the perfect solution.
According to thislittlestreet, here is WHAT YOU NEED:
– wooden crates
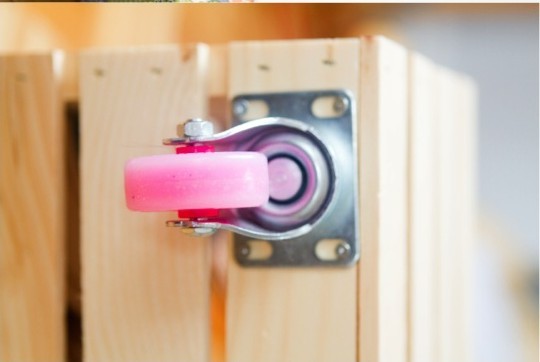
– fun casters in citrus pink
– plywood
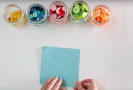
– foam sheet
– fabric
– fabric stapler
– screws
– paint (optional)
Directions:
LIDS–According to thislittlestreet:
1) Cut your plywood if you got a big sheet to the size of your crate
2) Cut foam the same size
3) Cut pieces of fabric big enough to cover the entire seat cover with an extra inch to staple.
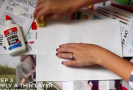
4) Place fabric down on the floor, and put the foam + plywood on top of it. Fold the fabric over – this video can help you deal with the tricky corners.
5) Staple the fabric to the plywood.
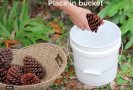
CRATES:
Paint them if you so desire and install the castors at each corner.
That’s it! You could actually install hinges and attach the lids but that would be totally optional.
These crates are a great storage solution for a kid’s room and can be customized to boys or girls.
Thank you to thelittlestreet for this great tutorial and pics. See their site for more deets on this project.


Who else loves this ?